Innoventry provides it’s users with the facility to export and import “Item List” from and to the software in the form of Excel file. The excel file can then be edited in the same exported format and then be imported again if required. The software will automatically detect the changes done in the file and implement the same in the software.
>>To export the item list from the software the user can follow the steps shown below: #
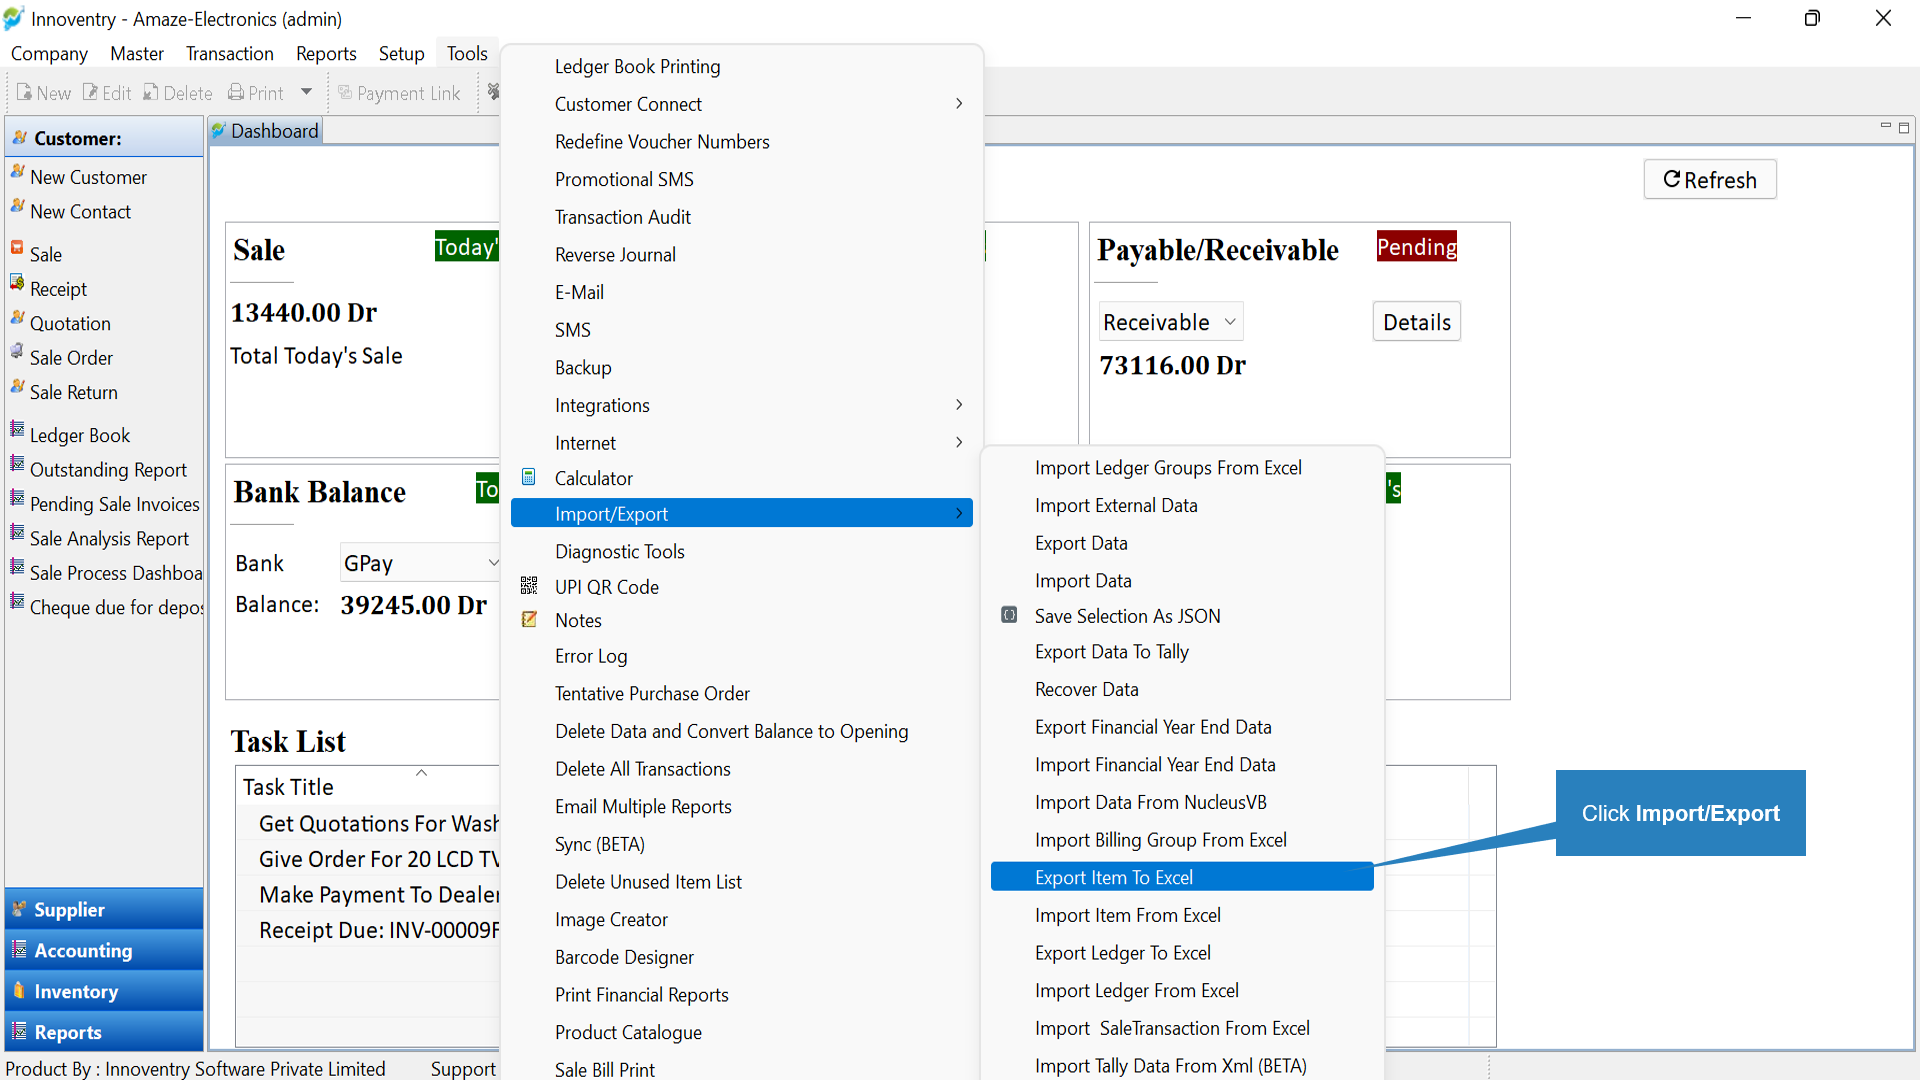
Step1: Click on the “Tools” menu, select the “Import/Export” option from the list and click on the “Export Item To Excel” option in the next list.
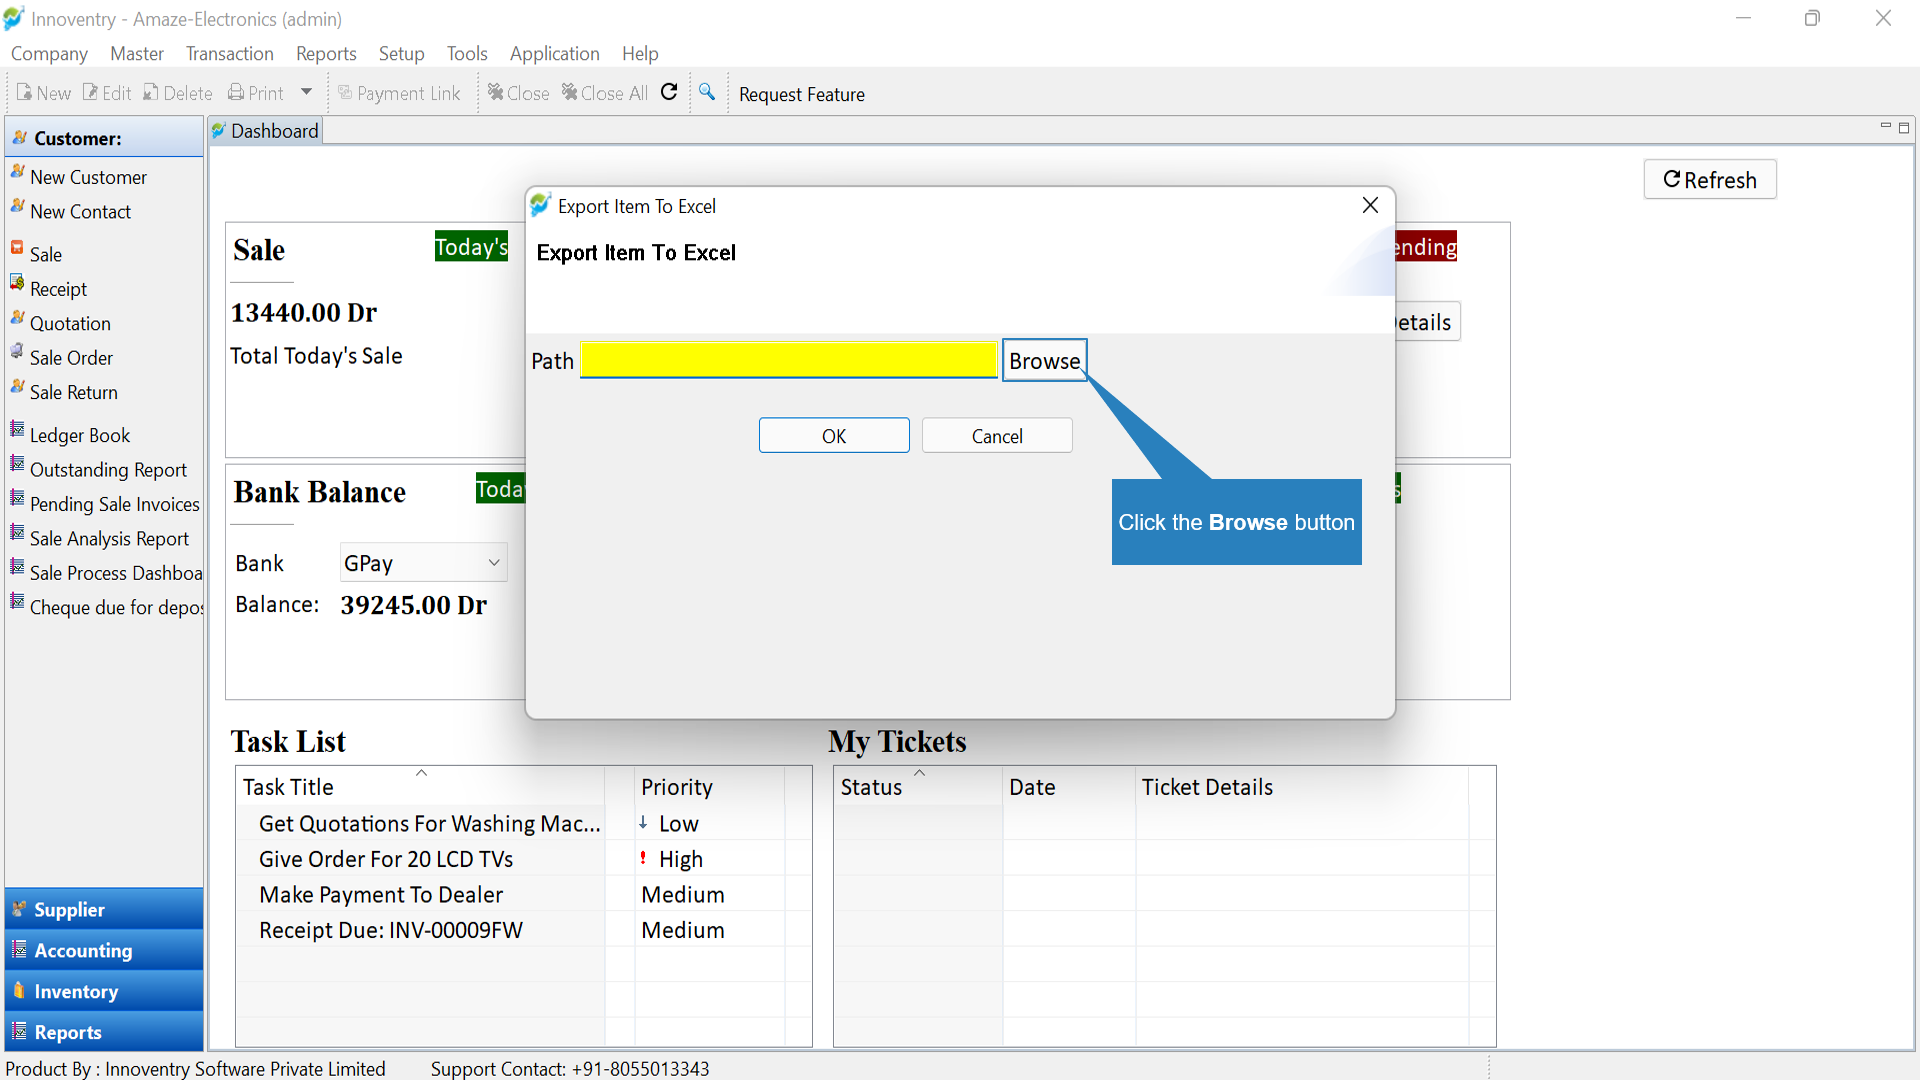
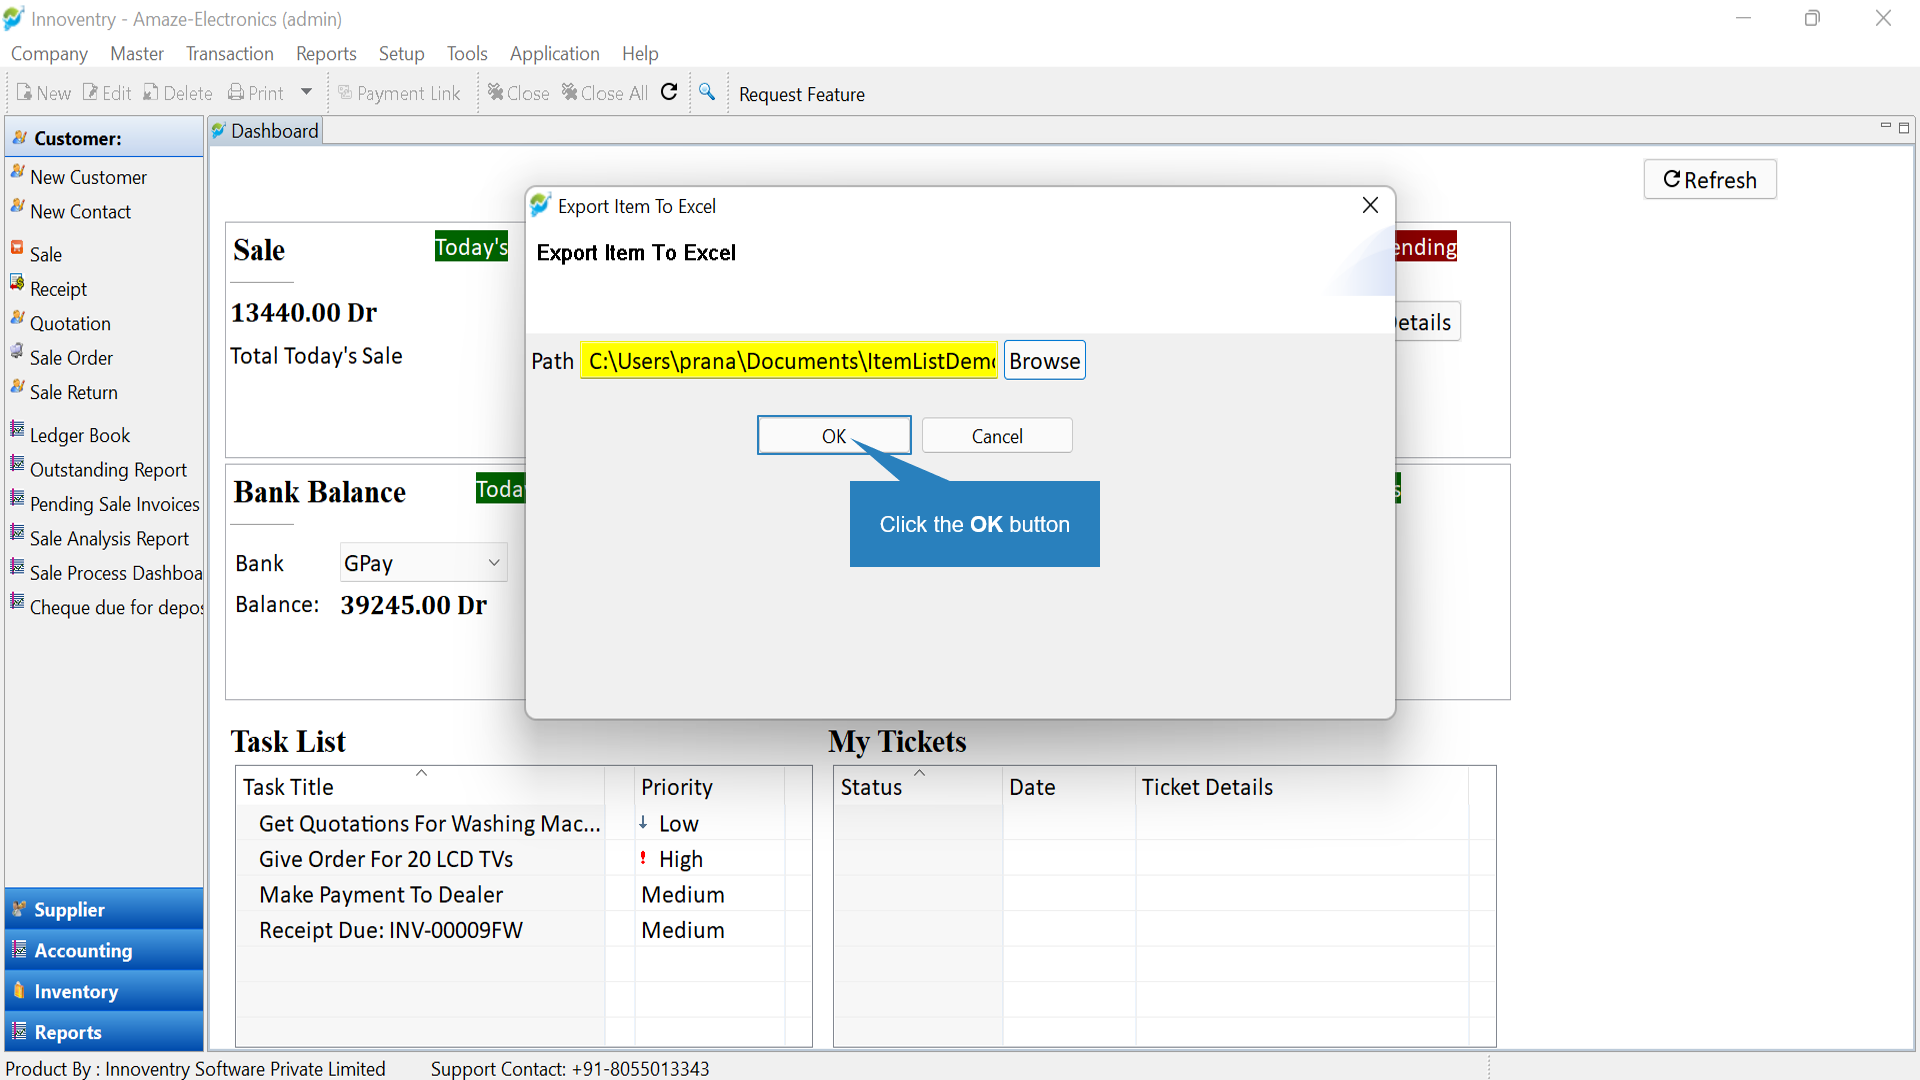
Step 2: The “Export Item to Excel” dialog box opens. Here the user can type in the path where the excel file is required to be saved. Or alternatively can click on the “Browse” option as shown.
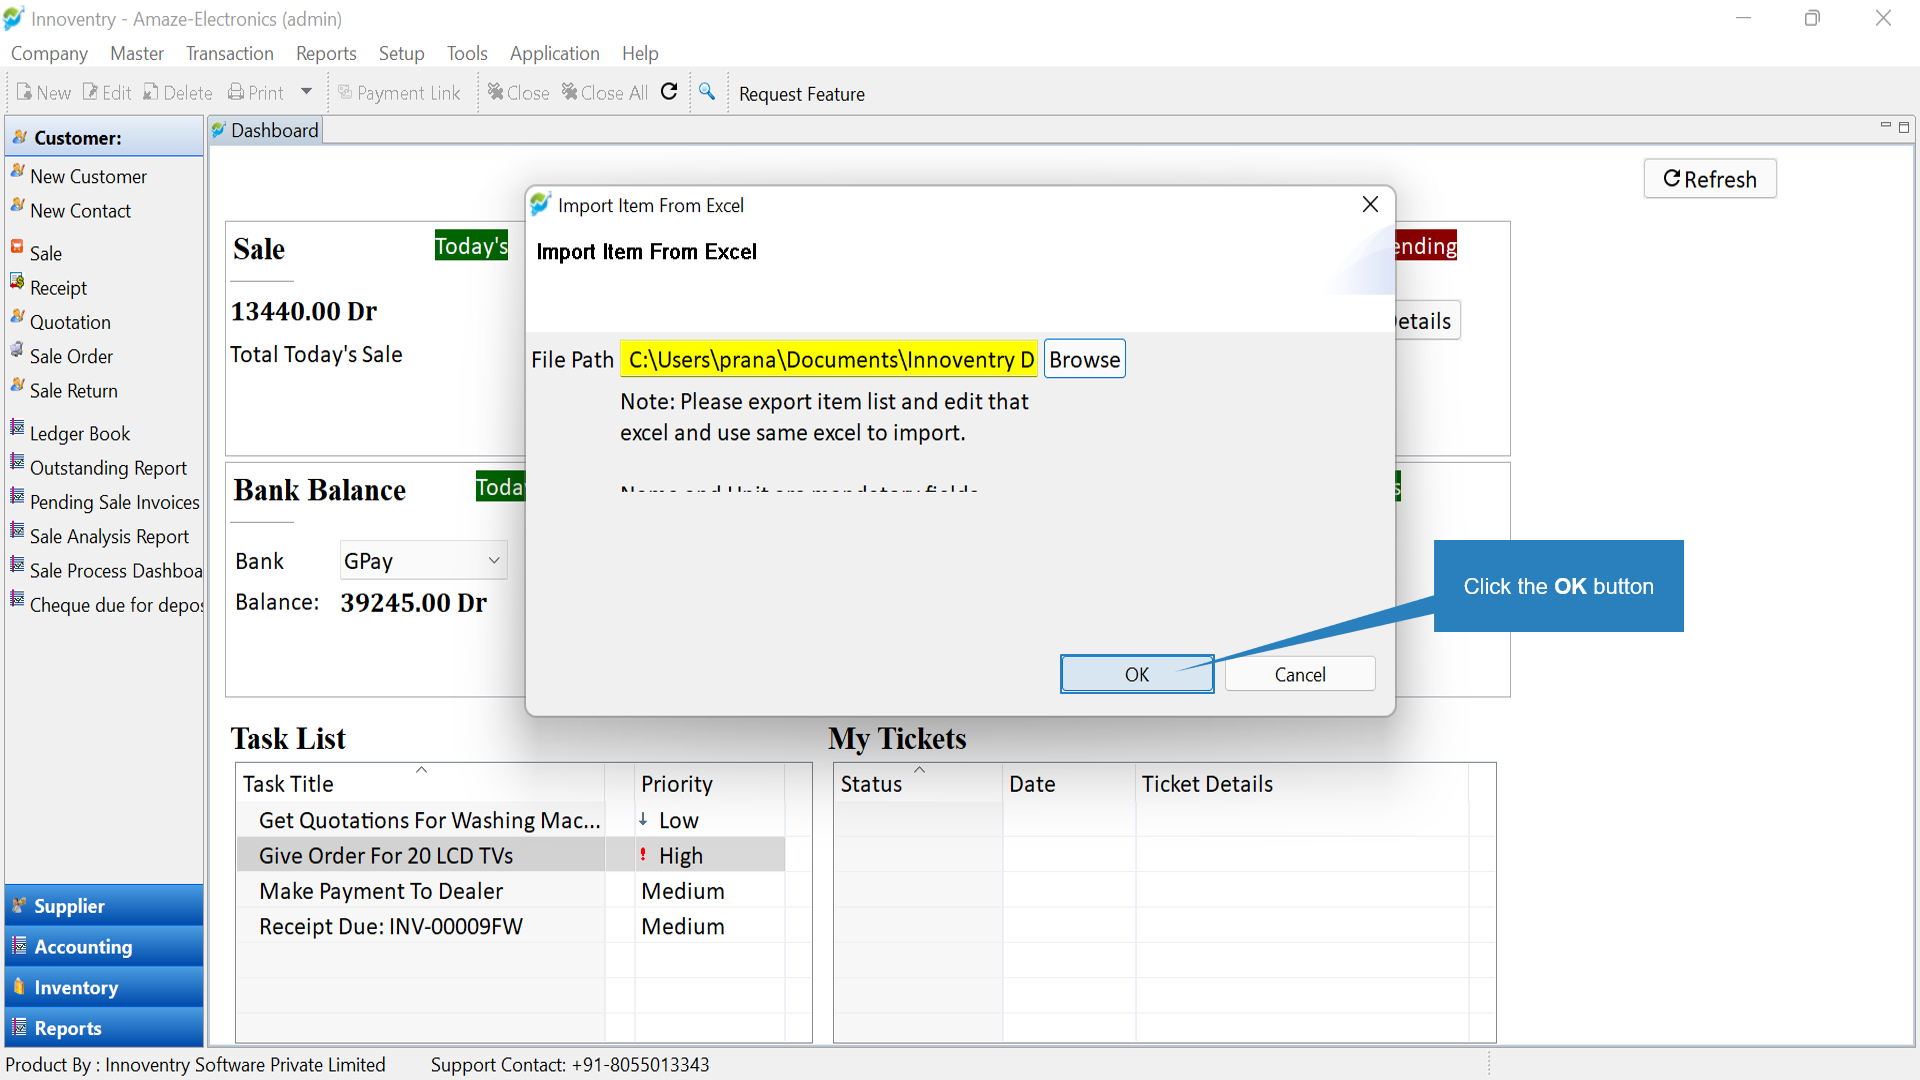
Step 3: After selecting the folder where the file is required to be saved, click on the “OK” button.
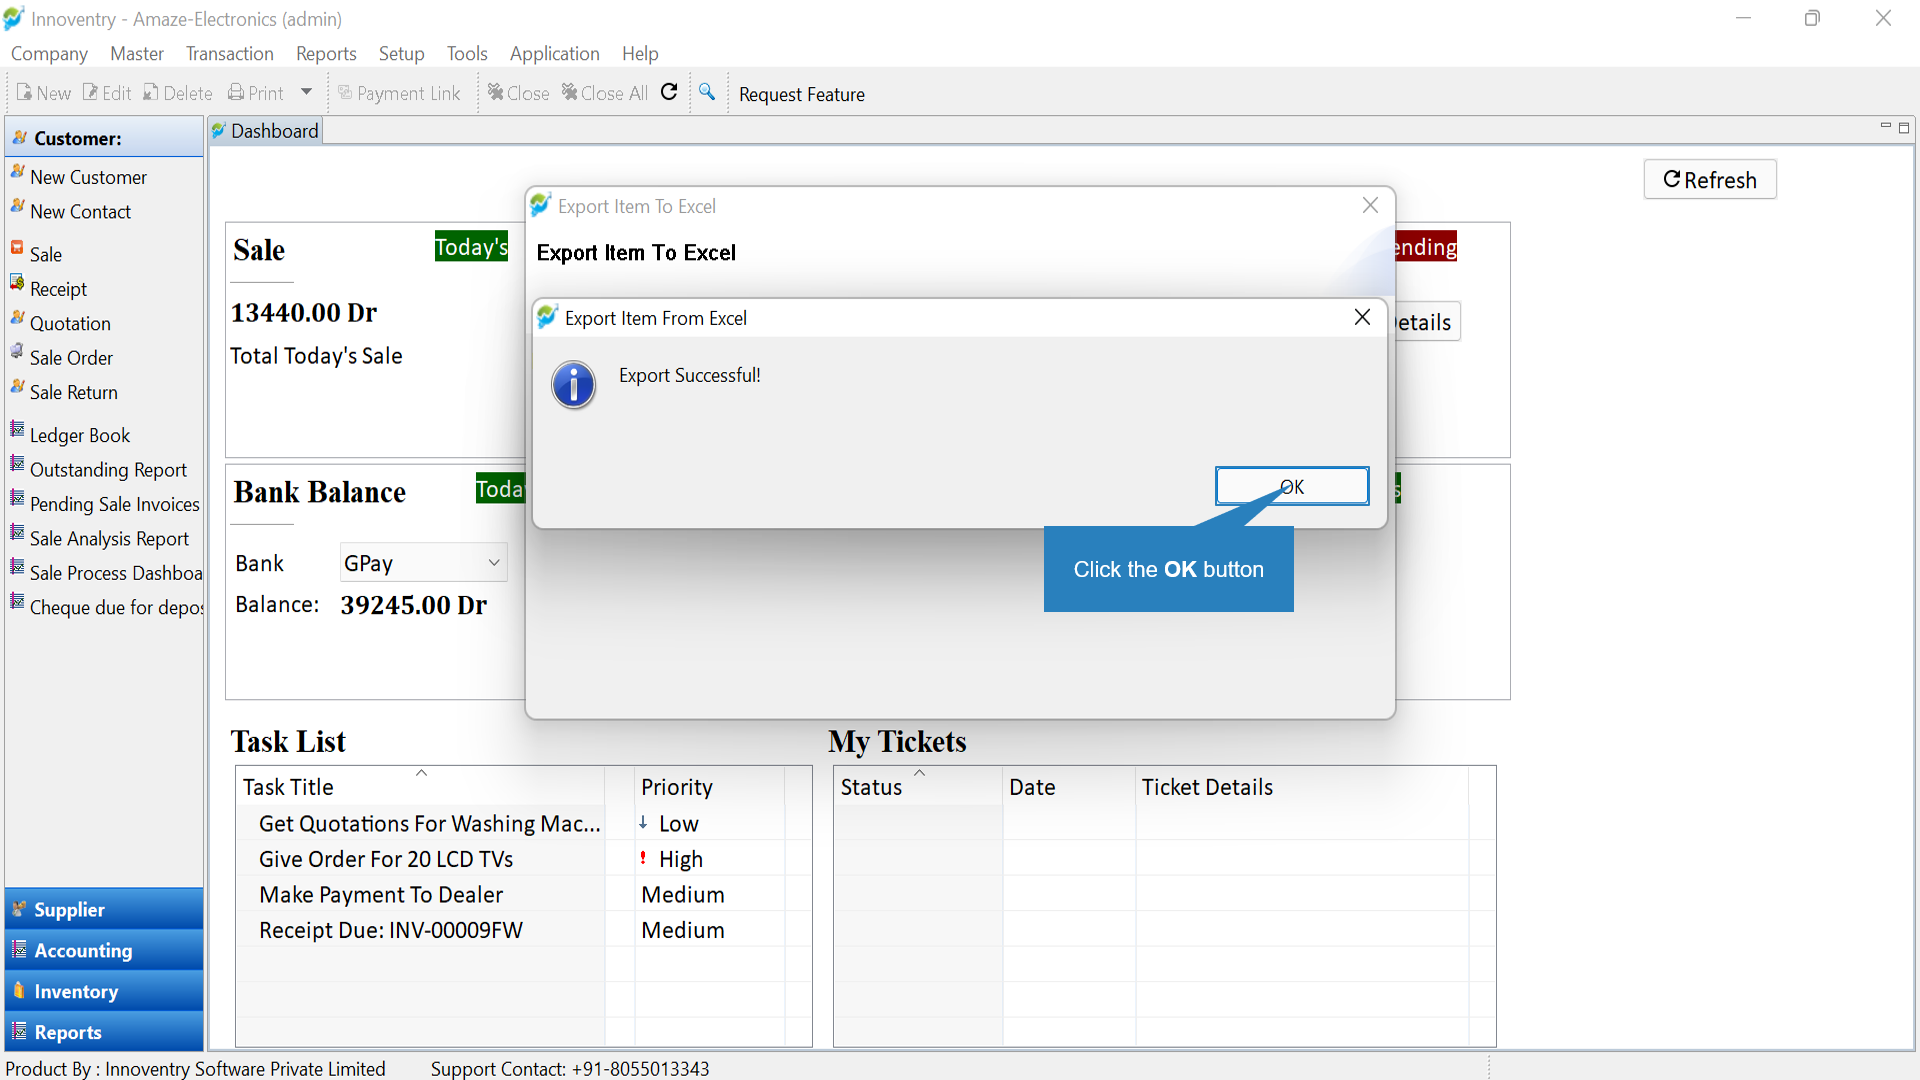
Step 4: The following message appears on the screen indicating that the export is successful. The excel file gets saved at the selected folder automatically.
>>To view and edit the imported excel file: #
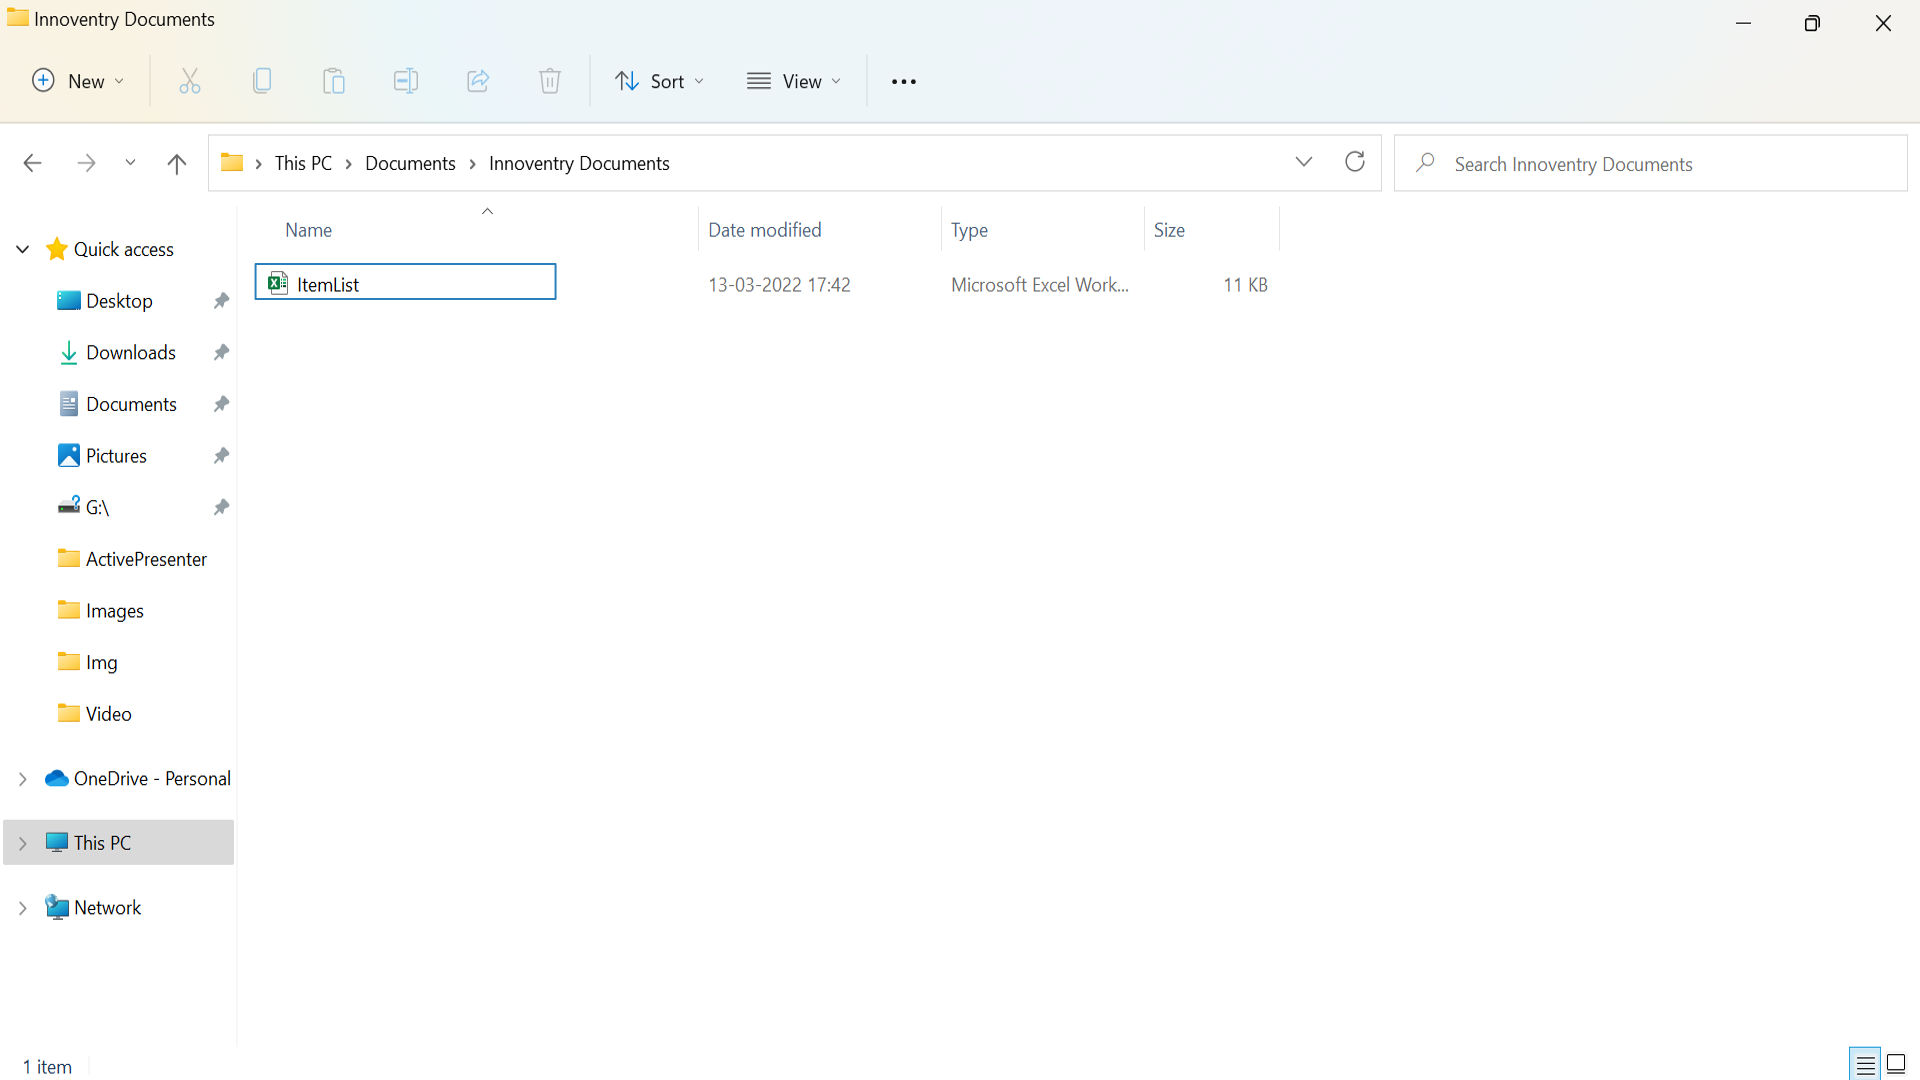
Step 1: Open the location where the file was saved. Click on the excel file to open it.
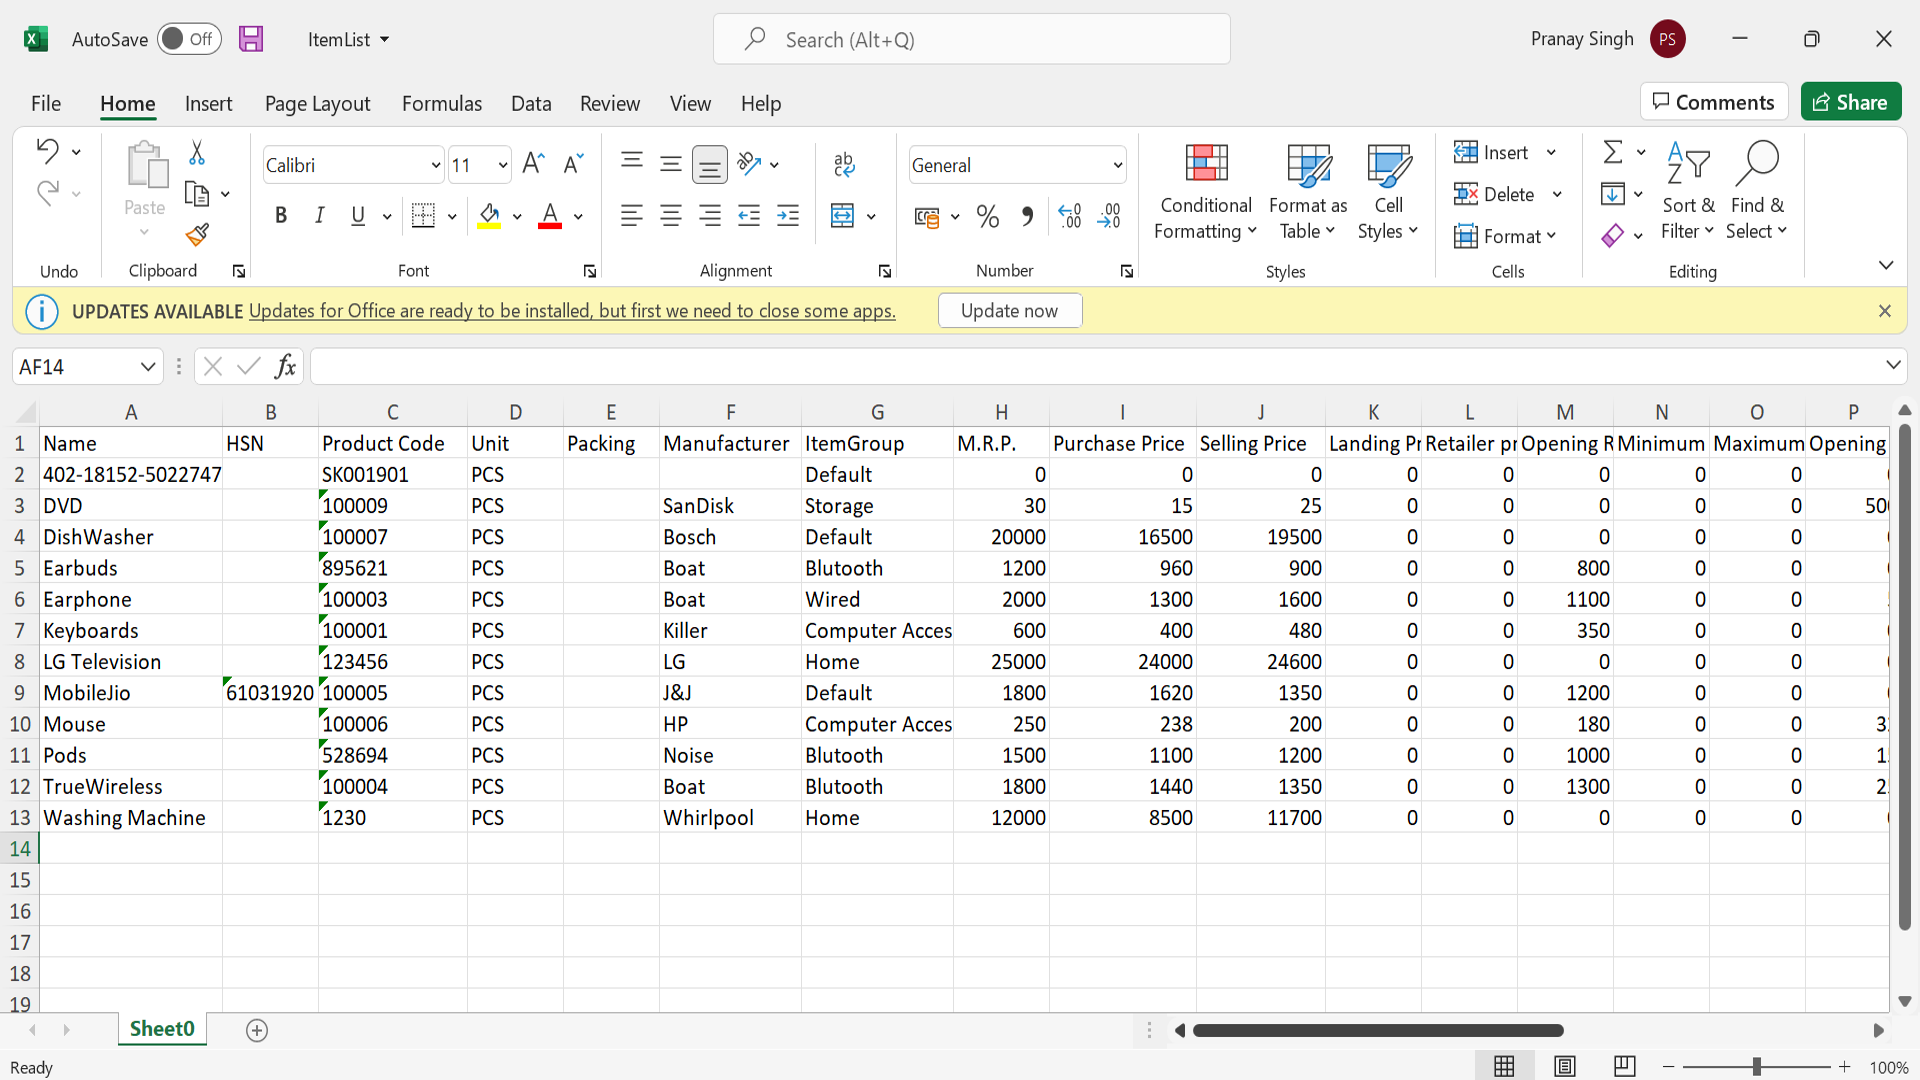
Step 2: The following snap shows the sample of the excel file that was exported. It has details such as the name and all the relevant related details of the item such as GST, pricing etc.
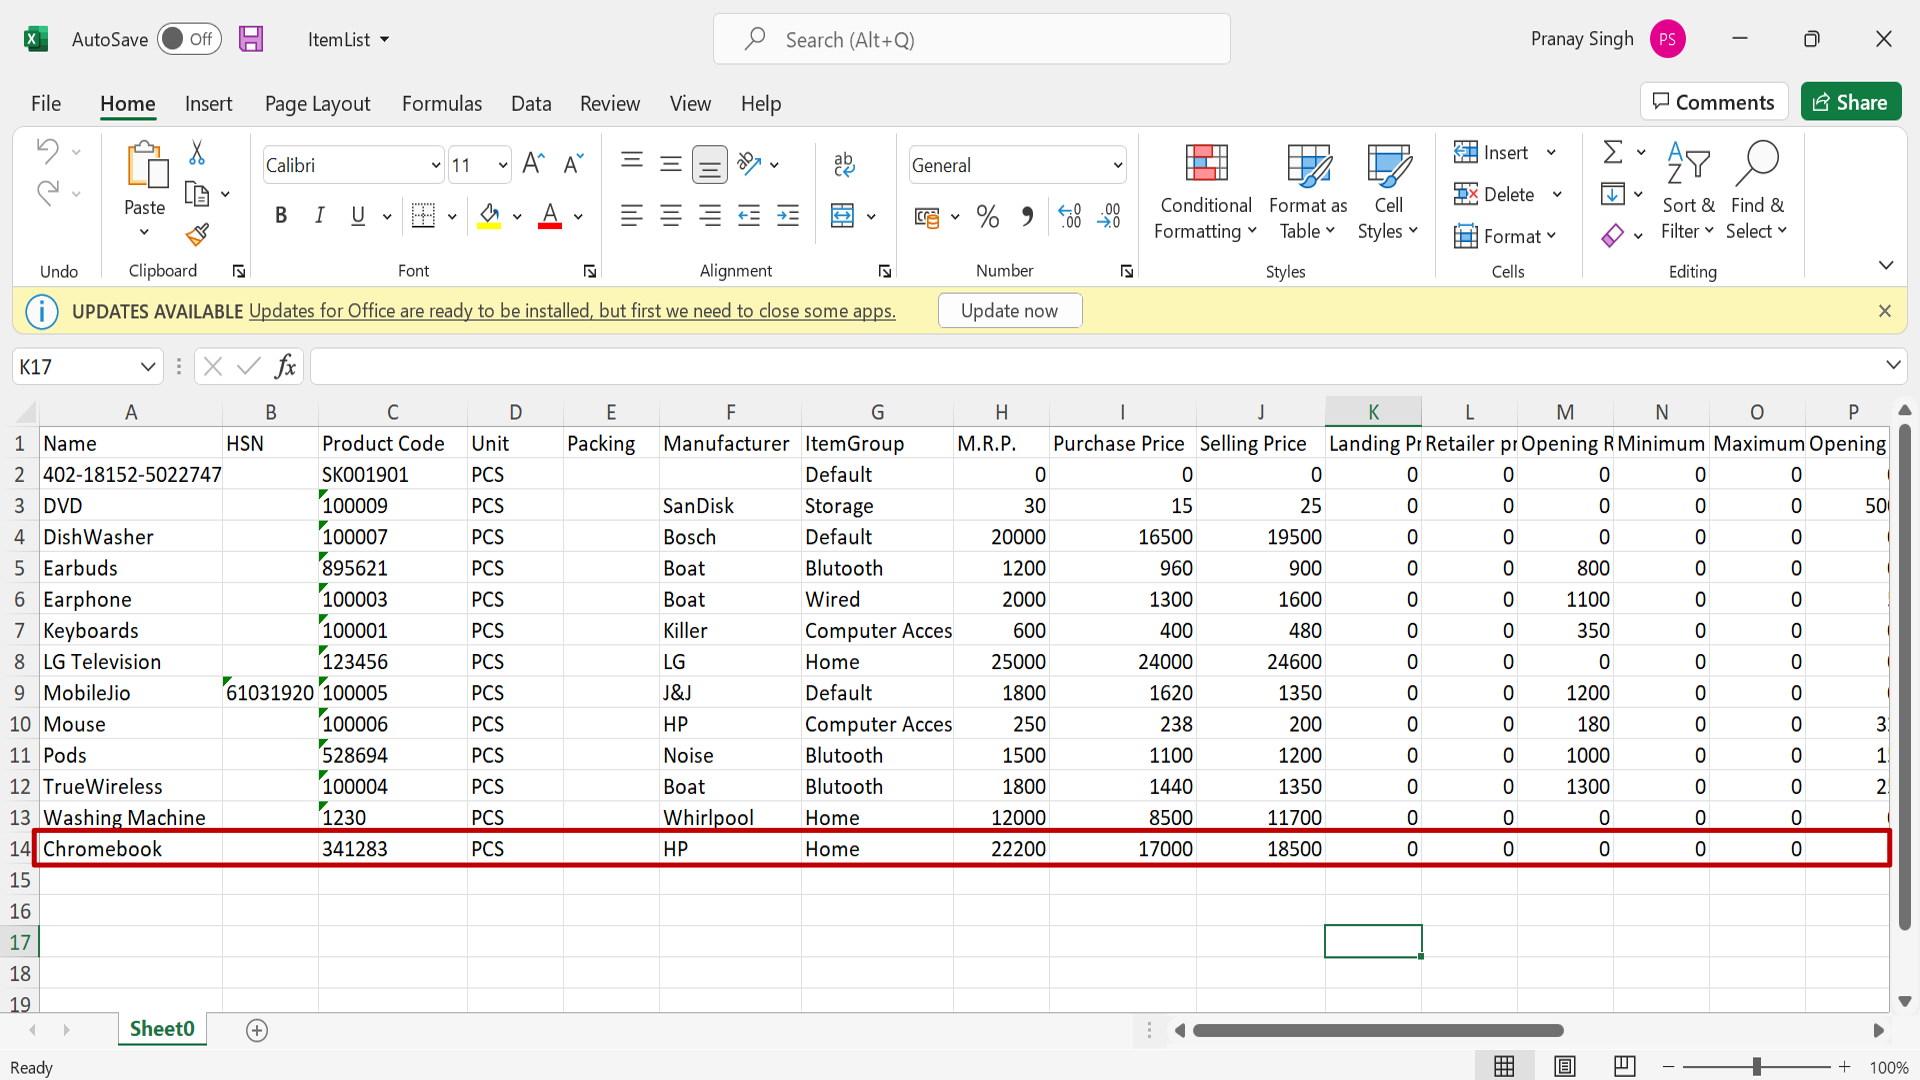
Step 3: The user can add a new item or edit any existing item. All the relevant information of the item also has to be fed into the file. This information then gets updated in the software if the user imports the file. In the below example we have added an item “ChromeBook”.
Note: If it is intended to delete all the previous item data from the Software, then we can remove all the items from the exported excel file and then add the new items. In this case when the excel file is imported all the existing items will be deleted and all the new items according to the excel file will be created in the software.
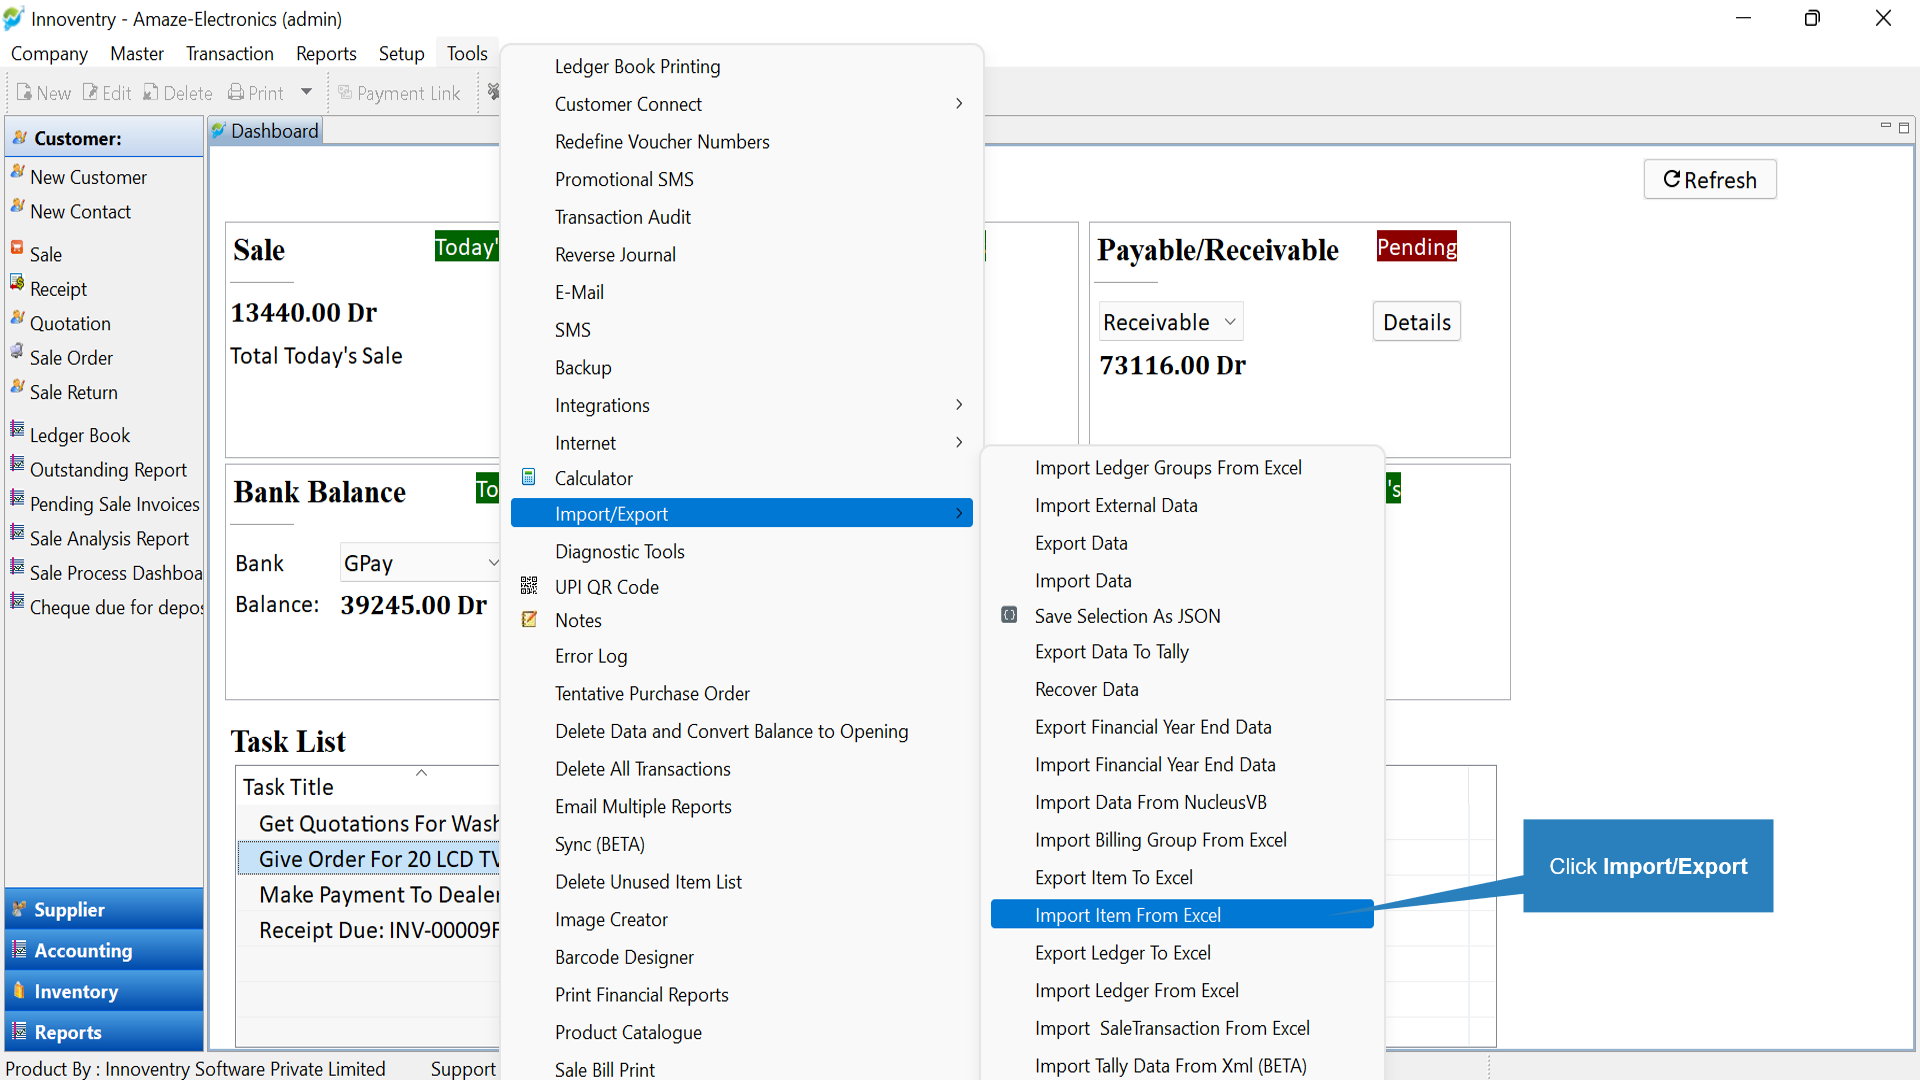
>>To imported item list excel file follow the below steps: #
Step 1: Click on the “Tools” menu, select “Import/Export” option and finally click on the “Import Item from Excel” Option.
Step 2: The “Import from Excel” Dialog box pops up. Here the user can type in the path or Browse the exported file from the computer.
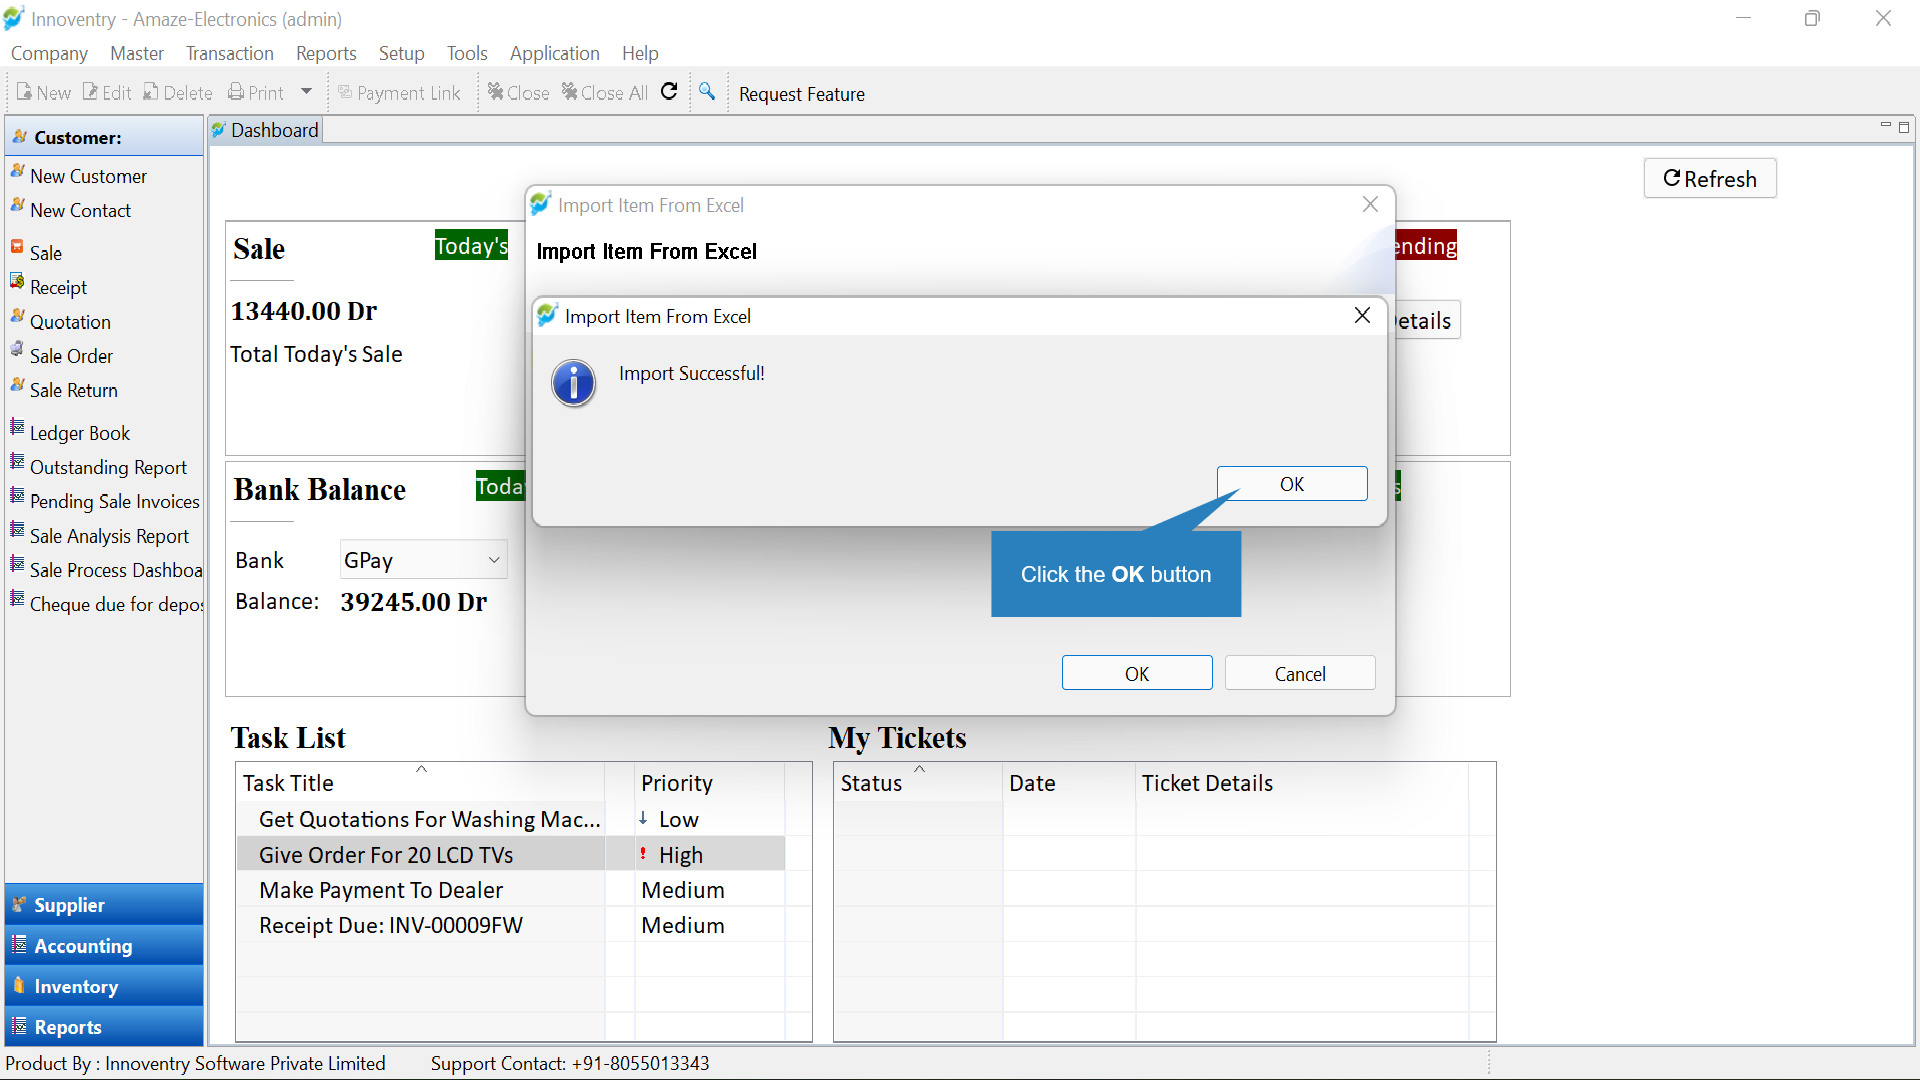
Step 3: The following message appears indicating that the Import is successful.
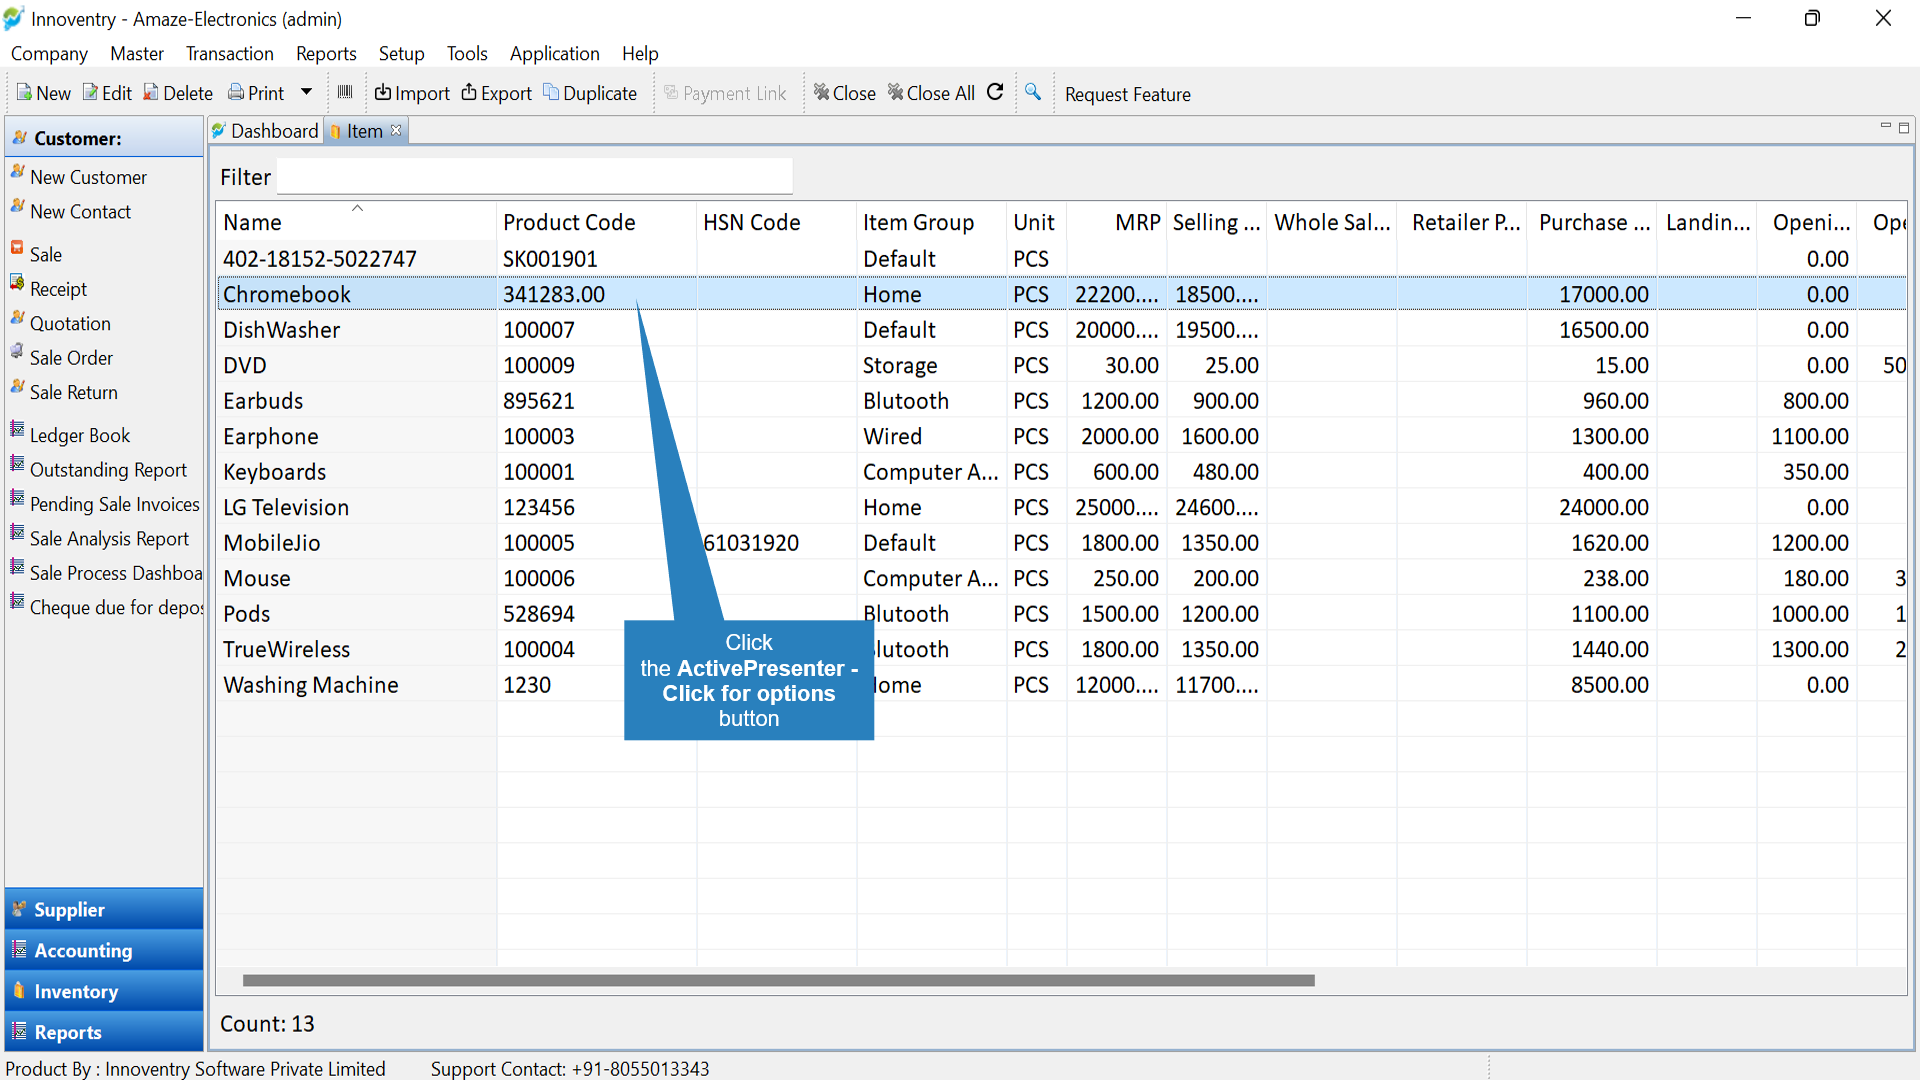
Step 4: The user can then view in the item list that the new item “ChromeBook” is added automatically with all the details.
>>💡Pro Tip: #
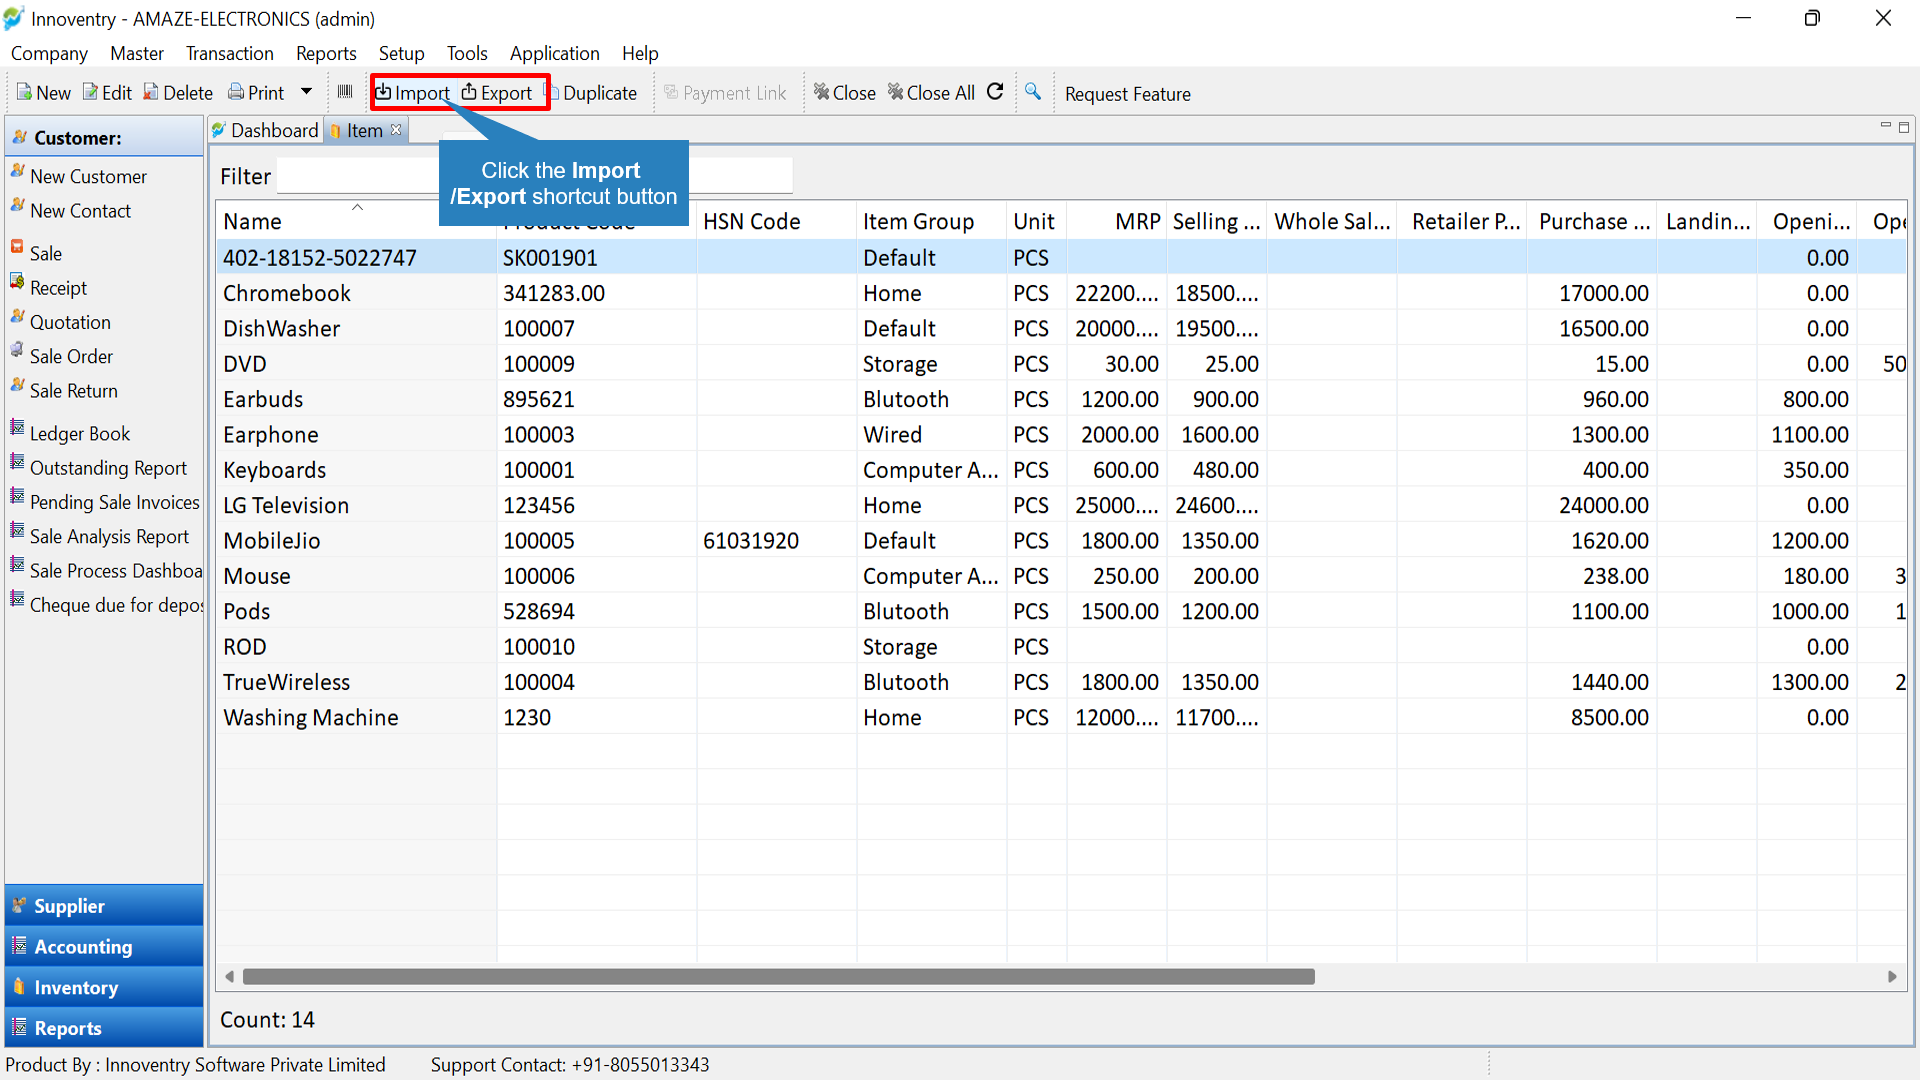
We can use Import/Export option directly from the Item Dashboard(Master>Item) as can be seen below.