
How to Configure Table Layout and Manage Restaurant Floors
A well-organized table layout is essential for quick-turnaround restaurant service. In Innoventry, you can design your dining floor plan to mirror your physical restaurant, organize tables into distinct sections (such as Ground Floor AC, Rooftop Lounge, or Garden), and monitor live occupancy in real time.
1. Accessing the Table Layout Editor
To design or modify your dining floor plan:
- Open the Innoventry Desktop POS application.
- Navigate to the top menu and select Restaurant > Table Layout.
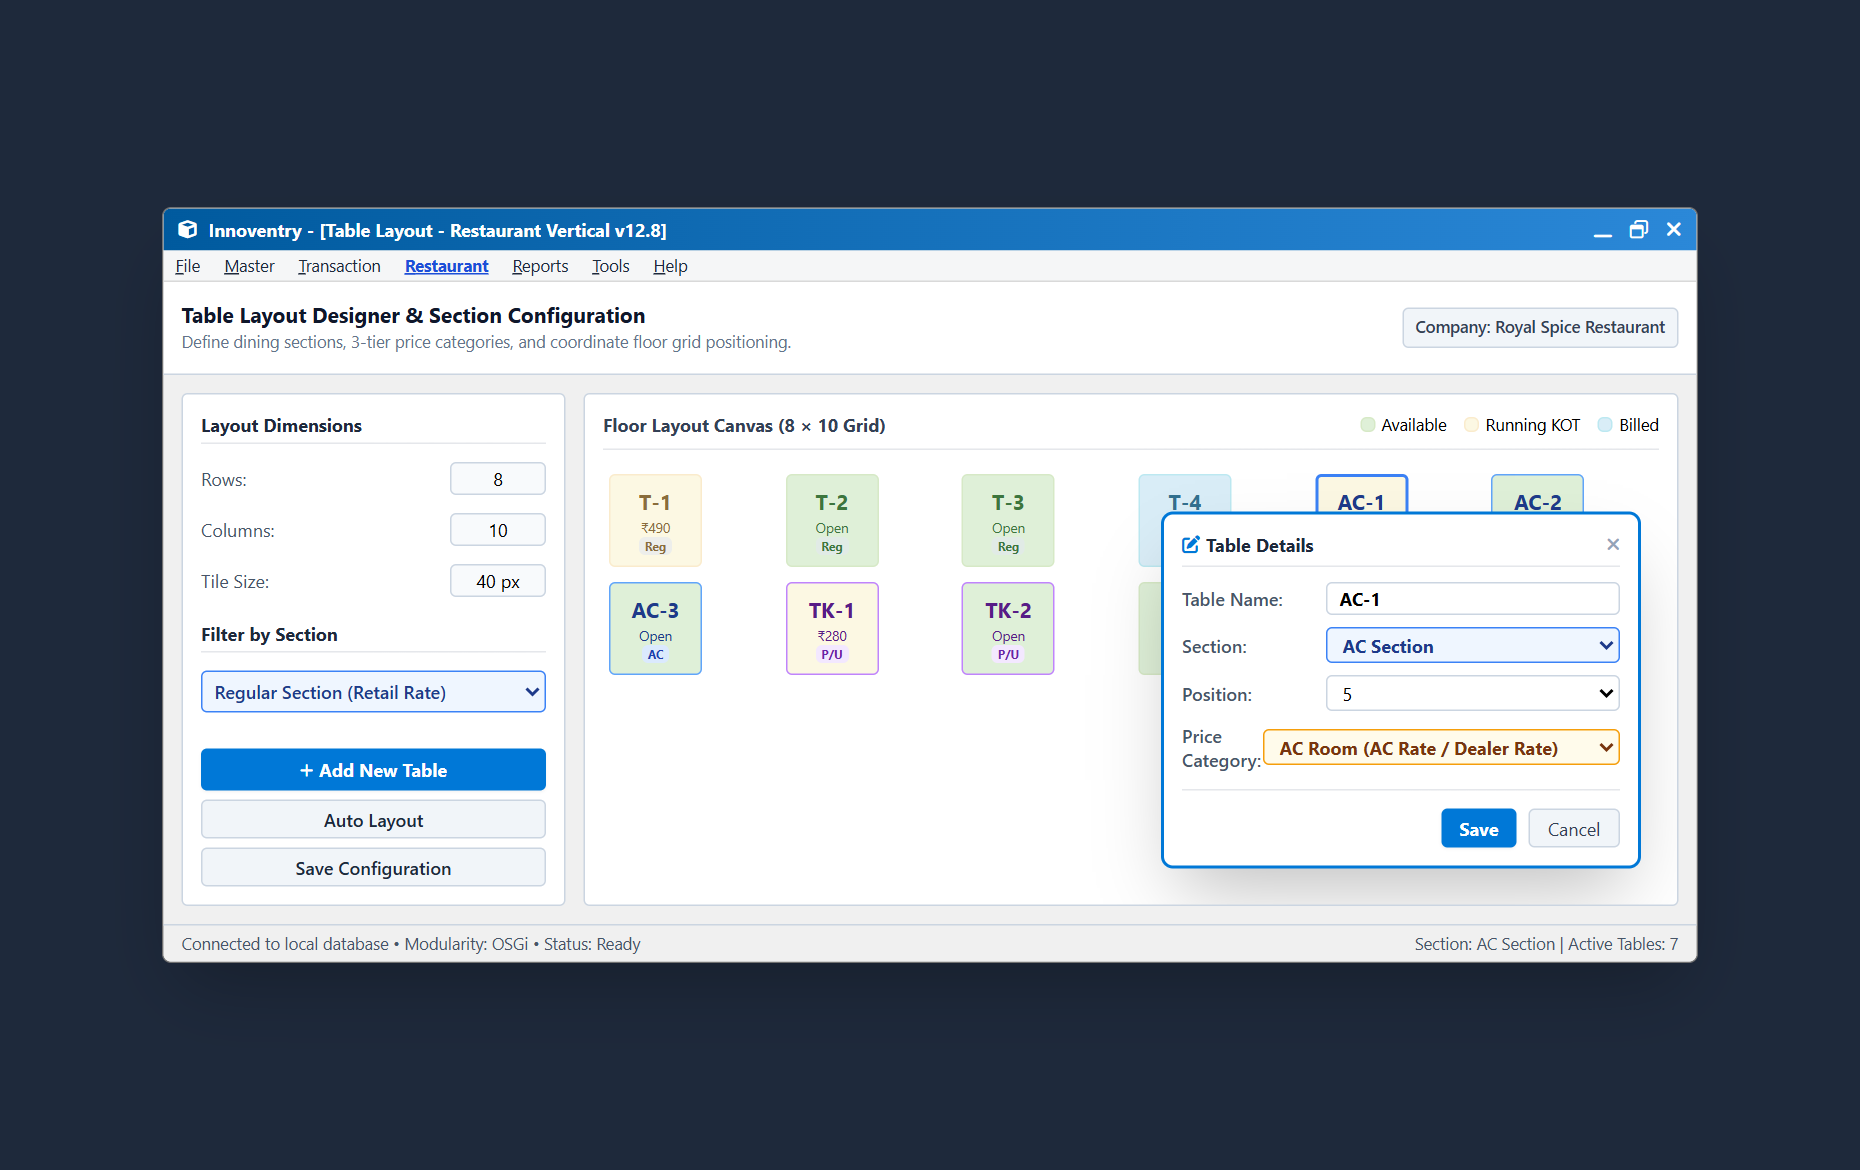
- The interactive floor plan grid opens, showing your configured sections, active tables, and live order panels.
2. Designing Sections & Floor Grids
Every restaurant has distinct dining spaces with different ambiances and operating requirements. Innoventry lets you segment tables into custom sections:
- Ground Floor (Non-AC Dining): High-volume casual walk-in tables.
- First Floor (AC Family Dining): Air-conditioned dining zone.
- Terrace / Rooftop: Outdoor dining with specialized beverage service.
- Garden / Bar: Specialized seating arrangements.
3. Adding Tables and Configuring Properties
To add or configure a table:
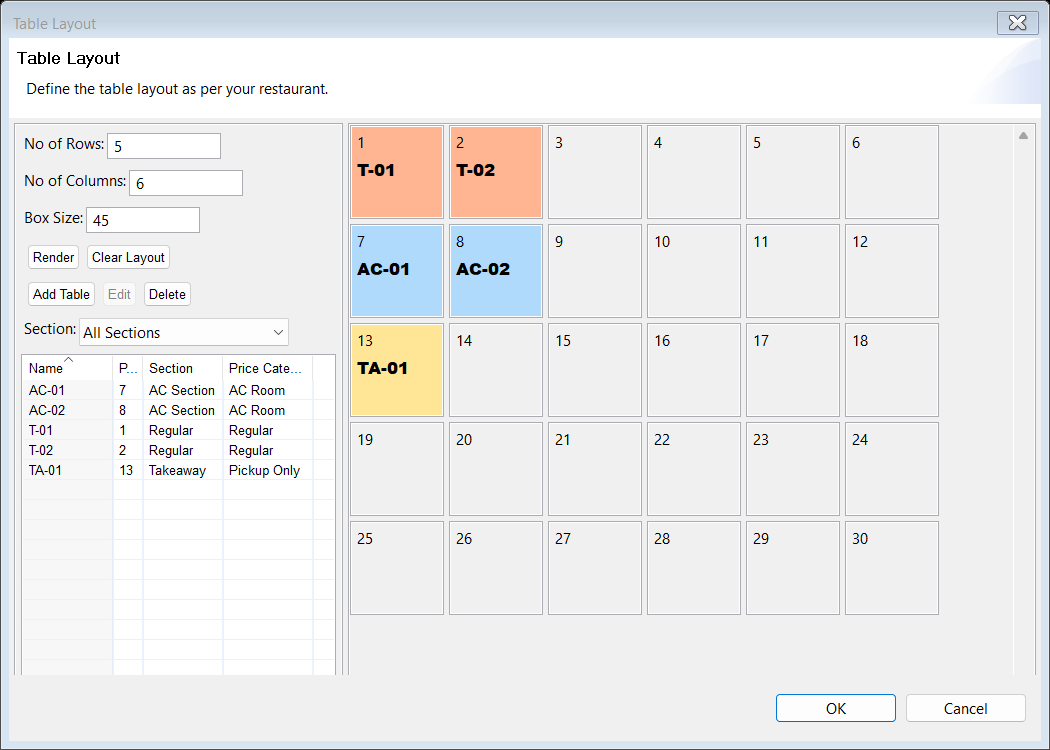
- In the Table Layout Editor, click Add Table or double-click an existing table cell.
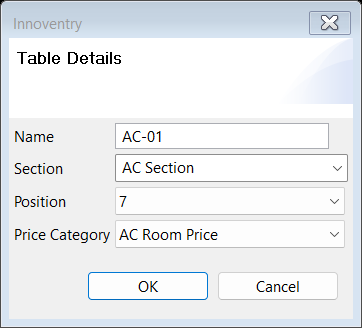
- In the Table Detail Dialog, configure the following fields:
- Table Name / Number: Enter the identifier (e.g.,
T-101,T-102). - Section: Select the dining section (e.g., AC Dining, Garden).
- Seating Capacity: Specify the number of guests/covers (e.g., 2, 4, 6, 8 pax).
- Default Price Category: Select the pricing tier assigned to this table (e.g., Regular, AC Premium). When orders are initiated from this table, items will automatically pull the configured tier rate.
- Table Name / Number: Enter the identifier (e.g.,
- Click Save to commit the table settings.
4. Monitoring Real-Time Table Status
During active service hours, tables change color automatically based on their current operational state:
- Green (Available): Table is vacant and ready for seating.
- Amber / Orange (Occupied): Guests are seated, and an active order or KOT has been fired.
- Blue (Billed / Payment Pending): The final bill has been generated and printed for the guest; awaiting payment settlement at the counter.
5. Table Shift & Table Merge
When guests request to move to another area (e.g., moving from the garden to an indoor AC table) or when large groups join two tables together:
- Shift Table: Select the running table, click Shift Table, choose the target unoccupied table, and confirm. All running items, draft tickets, and totals transfer instantly.
- Merge Tables: Combine two active dining tables into a single consolidated check for group billing.